SSL Configuration
Introduction
A Self-Signed SSL Certificate is a digital certificate that is signed by the entity creating it, rather than by a trusted Certificate Authority (CA). These certificates are typically used for testing, internal development, or private environments where trust chains with a public CA are not necessary.
-
You can use the same 'NFS VM' to generate an SSL certificate for your domain. This step is optional, and if you already have a certificate for your Stackbill domain, you can skip this section.
-
Connect to the NFS VM using the SSH credentials specific to your environment. For Stackbill, the default operating system for VMs is Ubuntu 22.x, and the default username is ubuntu
-
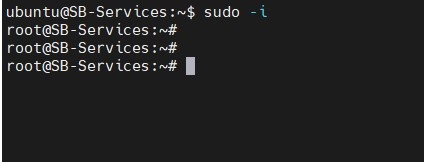
Once logged in as the ubuntu user, switch to the root account for elevated privileges. Use the following command.
sudo -i
- Installs the OpenSSL tool, a widely used library for generating cryptographic keys and certificates.
apt install openssl -y

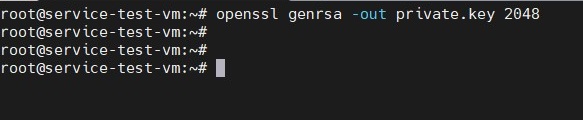
- Generate a Private Key using the below command.
openssl genrsa -out private.key 2048
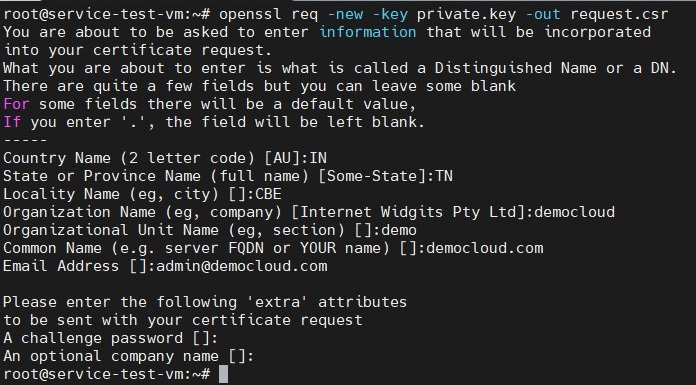
- Generate a Certificate Signing Request using the below command.
openssl req -new -key private.key -out request.csr
- Finally, generate certificate using the below command.
sudo openssl x509 -req -days 365 -in request.csr -signkey private.key -out certificate.crt
- Save the private.key and request.csr file for future stackbill deployment.
Deploying Free SSL Certificates with Certbot
This section explains how to configure free SSL certificates for your Stackbill application domain using Certbot with Apache on a Kubernetes master node. By following these steps, administrators can secure their Stackbill deployment with HTTPS using Let’s Encrypt SSL certificates.
Prerequisites
Before you begin, ensure:
-
You have administrative access (root or sudo privileges) to the Kubernetes master node.
-
The Stackbill application domain is already mapped to your master node’s public IP.
-
Apache2 is installed and configured as the web server on your master node.
-
Port 80 is accessible from the internet for Let’s Encrypt HTTP-01 challenge validation.
Step 1: Install Apache2
-
Log in to the Kubernetes master node and install Apache2 using the following command:
apt install apache2 -y -
Once installed, verify that the Apache service is running:
systemctl status apache2
Step 2: Configure Apache Virtual Host
-
Create or update a virtual host entry for your Stackbill application domain:
nano /etc/apache2/sites-available/azhost.confSample Virtual Host Configuration:
  <VirtualHost *:80>
      ServerName <your-stackbill-domain>
      ServerAdmin webmaster@example.com
      DocumentRoot /var/www/html

      ErrorLog ${APACHE_LOG_DIR}/example.com-error.log
      CustomLog ${APACHE_LOG_DIR}/example.com-access.log combined
</VirtualHost> -
Save and exit the file, then enable the site configuration:
systemctl reload apache2
Step 3: Install Certbot
-
Update the package index:
apt update -
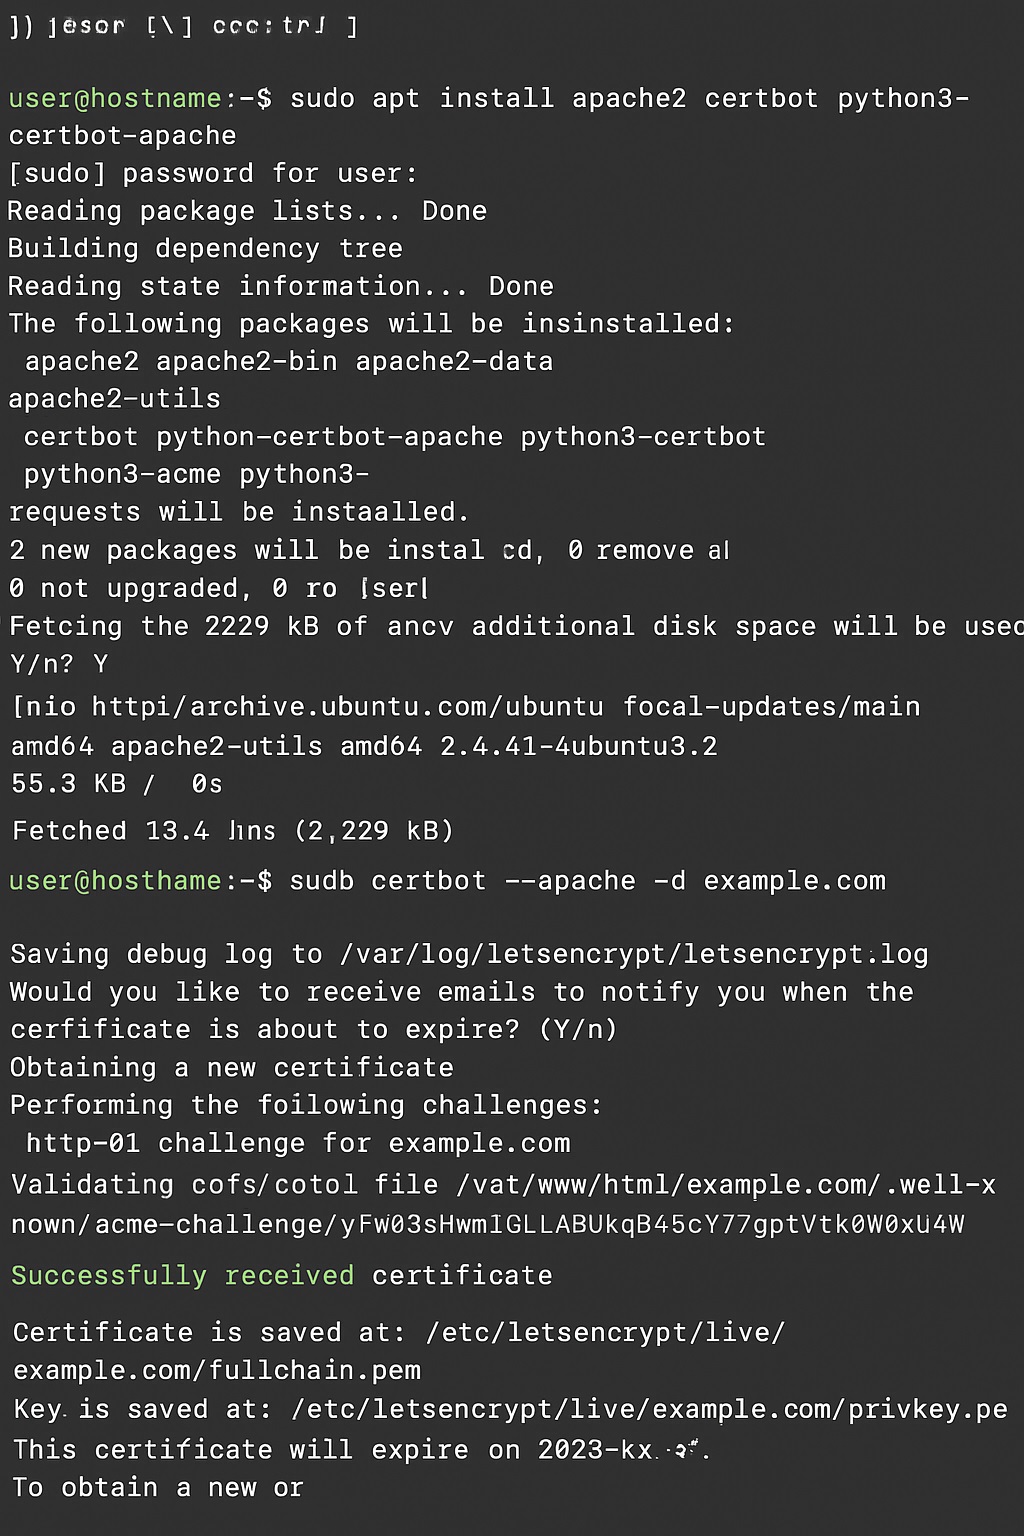
Install Certbot and the Apache plugin:
apt install certbot python3-certbot-apache -y
Note:
If you are deploying SSL in a Kubernetes environment with a load balancer (LB), temporarily remove the HTTP entry (port 80) from the load balancer and configure port forwarding directly to the master node. Once SSL installation is complete, you may re-add the load balancer settings.
Step 4: Request and Install SSL Certificate
- Use Certbot to request a free Let’s Encrypt SSL certificate for your Stackbill application domain:
Syntax:
certbot --apache -d <your-stackbill-domain>
Example:
certbot --apache -d azhost.elasticspace.io
Certbot will automatically:
- Validate your domain ownership.
- Configure SSL certificates in Apache.
- Update the Apache virtual host file to use HTTPS.
Step 5: Verify SSL Installation
Once the process completes:
-
Restart Apache:
systemctl restart apache2 -
Open your Stackbill application domain in a browser:
https://<your-stackbill-domain> -
Confirm that the site is secured with a valid Let’s Encrypt SSL certificate.
Step 6: Certificate Renewal
- Let’s Encrypt certificates are valid for 90 days. Certbot automates the renewal process. You can manually test renewal using below command.
certbot renew --dry-run